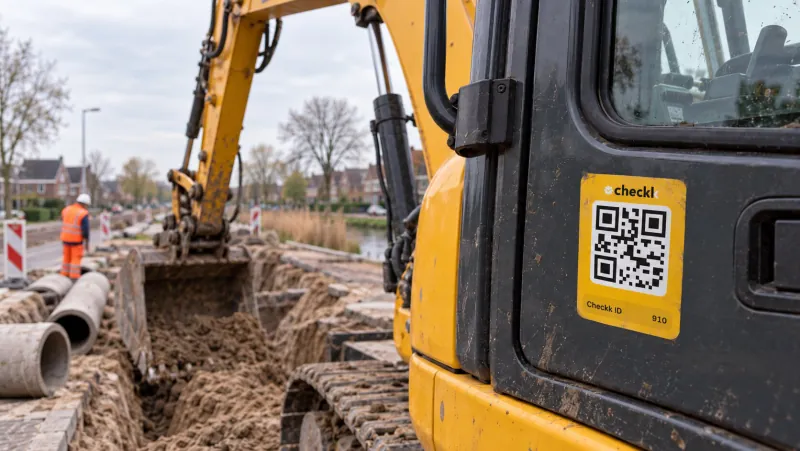
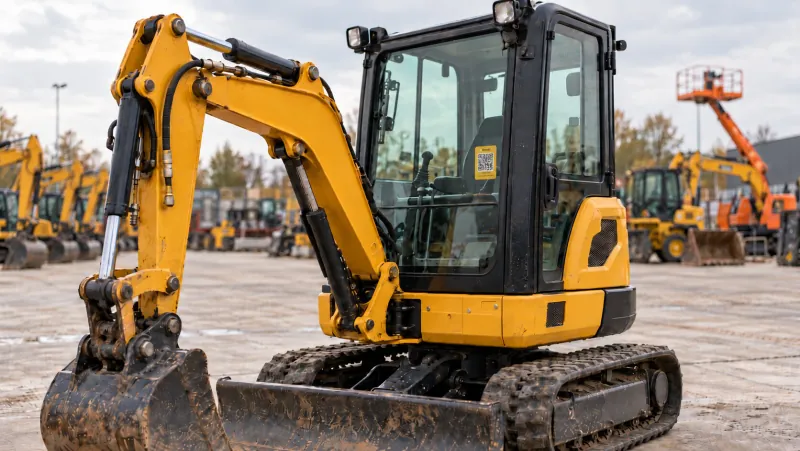
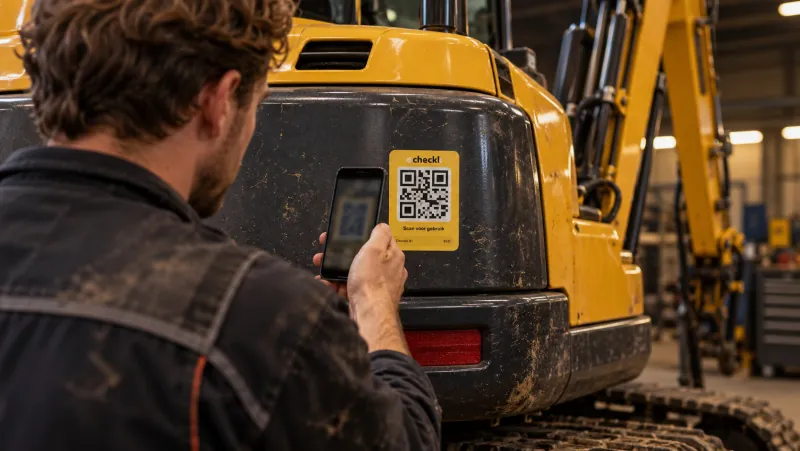
From scan to completed task, in one closed loop.
The operator reports, the office picks it up, the mechanic fixes it. Every step is recorded, without anyone having to retype anything.
-
01Scan
The operator scans the QR sticker on the machine.
-
02Check
They complete the daily checklist. If something is not OK, an explanation and a photo are required.
-
03Defect
Every failed item automatically becomes a defect, with photo, running hours and location.
-
04Task
In one click the defect becomes a task, with priority and an assigned mechanic.
-
05Execute
The mechanic receives an email with PDF and QR code and marks the task done, without an account.
-
06Maintenance
The completed task goes into the maintenance log and the service counter is reset.
-
07Insight
The status report shows per checklist item what was reported, picked up and completed.
Scan
Every machine has its own QR sticker. The operator scans it with the camera of their phone and immediately sees the right machine, with brand, year and running hours.
- No app and no account needed
- Every scan records the location
- Optionally protected with a PIN
Check
They complete the daily checklist: good, not good or not applicable per item. If something is not good, an explanation and a photo are required. So the office knows straight away what is going on.
Defect
Every failed item automatically becomes a defect, with photo, running hours and location. The right people immediately receive an email with a PDF. The defect stays traceable to the checklist item it came from.
Task
In one click you turn the defect into a task. You choose the priority and assign a mechanic, from your own workshop or from outside. The task also appears in the app as soon as someone scans the machine.
Execute
The mechanic receives an email with a PDF, a QR code and a link. They mark the task done with notes, parts used, times, meter reading and photos. An external mechanic does not need an account for this.
You have been assigned a task for the CAT MH3260. Scan the QR code or open the link to mark the task as done.
Maintenance
The completed task automatically goes into the maintenance log of the machine and the service counter is reset. You do not have to copy anything into another system.
Insight
The status report shows the entire loop per checklist item: what was reported, what was picked up and what is done. Useful for the workshop, the project lead and during an audit.
What it delivers, in the field and in the office.
- Scan the QR sticker, without an app or account
- Report a checklist, defect, damage or maintenance in a few taps
- A photo for every deviation
- See open tasks at the machine
- Crane log and manual right at hand
- Real-time overview per project or across all projects
- An email as soon as something is not OK
- From defect to task in one click
- Maintenance on running hours, kilometres or date
- PDF reports and Excel exports
Your entire machine fleet in, without retyping.
Import from Excel or CSV
Columns are recognised automatically, categories and brands are created automatically. With one column you spread machines across multiple projects. You first see an analysis and get an error report, and only then is anything imported.
Categories do the work
A machine in the crawler crane category automatically gets the right checklists and document folders. Adjust it per machine where needed.
Up to 10,000 QR stickers in advance
Have stickers or aluminium plates printed in advance, in your own house style if you like, and link them to a machine later.
Switch on what you need.
Not every company works the same way. That is why you switch features on or off per company. Give it a try.
Live with Checkk in three phases.
From the first conversation to the first scan on site. This is how the implementation goes, so you know in advance what is asked of you.
-
Phase 1
Preparation
Together with you-
IntroductionWe get to know each other and discuss the goal of the project.
-
Analysis of your way of workingWe map how your fleet is managed today and where the bottlenecks are.
-
Fleet inventoryAll assets are listed, from machines and vehicles to tools.
-
Choosing modulesTogether we decide which modules you need, such as checklists, maintenance and documents.
-
Designing checklistsThe checklists are tailored to the type of machine or category.
-
Setting languagesYou choose the default language and any extra languages.
-
Appointing usersYou decide who in your company gets access to the back office.
-
-
Phase 2
Implementation
By Checkk-
Receiving the inventory listYou send us an overview of everything that needs to go in.
-
Adding machinesWe put all your assets into Checkk.
-
Linking QR stickersEvery machine gets its own QR code.
-
Linking checklistsThe checklists are linked to the right machine categories.
-
Creating accountsThe accounts for the office are set up.
-
Shipping stickersYou receive the QR stickers, ready to apply.
-
-
Phase 3
Activation
By your team-
Applying stickersThe QR codes go on the matching machines.
-
Adding documentationSuch as manuals, inspection reports and maintenance history.
-
Briefing on siteYour people learn how Checkk works and why it matters.
-
Does the operator need to install an app?
No. Checkk is a web app. The operator scans the QR sticker with the camera of their own phone and the right machine opens straight away. No app and no account needed.
How do I know who completed a checklist?
Every entry is recorded by name. For more certainty, give employees their own 4-digit PIN per project. You can also protect projects with a PIN screen.
Does Checkk work in other languages?
Yes. Checkk works in multiple languages, in both the field app and the management environment. Your operator chooses their own language, and a new language is easy to add.
How do I get my machines into Checkk?
Through an import from Excel or CSV. Columns are recognised automatically, categories and brands are created automatically. You first see an analysis and get an error report before anything is saved.
Can external mechanics and subcontractors use it?
Yes. Subcontractors scan the machine just like your own people. An external mechanic receives an email with PDF and QR code and marks the task done without an account.
Can I connect Checkk to our own software?
Yes, through the REST API or one of our integrations with ERP systems. You can also export every overview to Excel.

Book a meeting with Elroy
Elroy shows you how Checkk works with your machines, your checklists and your projects. You ask your questions to someone who knows the trade.